Step-by-Step Guide to Adding SimplyBook.me to Your WordPress Site
This post is also available in:
![]()
![]()
![]()
![]()
Integrating a booking system into your WordPress website can transform your online presence, making it easier for clients to engage with your services. SimplyBook.me, a versatile booking solution, offers just that – a seamless way to manage appointments directly from your website. In this guide, we’ll walk you through the process of integrating SimplyBook.me into your WordPress site, step by step.
Step 1: Setting Up Your SimplyBook.me Booking Page
1. Create Your Account: If you haven’t already, sign up for SimplyBook.me and create your account.
2. Configure Services and Settings:
- Define Your Services: List the services you offer, including descriptions, pricing, and duration.
- Set Availability: Specify your working hours, holidays, and any special availability rules.
- Customise Booking Page: Use SimplyBook.me’s customisation options to align the look and feel of your booking page with your brand.
3. Additional Features:
- Add Custom Fields: If you need additional information from your clients during booking, set up custom fields.
- Enable Notifications: Set up email or SMS notifications for you and your clients for new bookings, cancellations, or reminders.
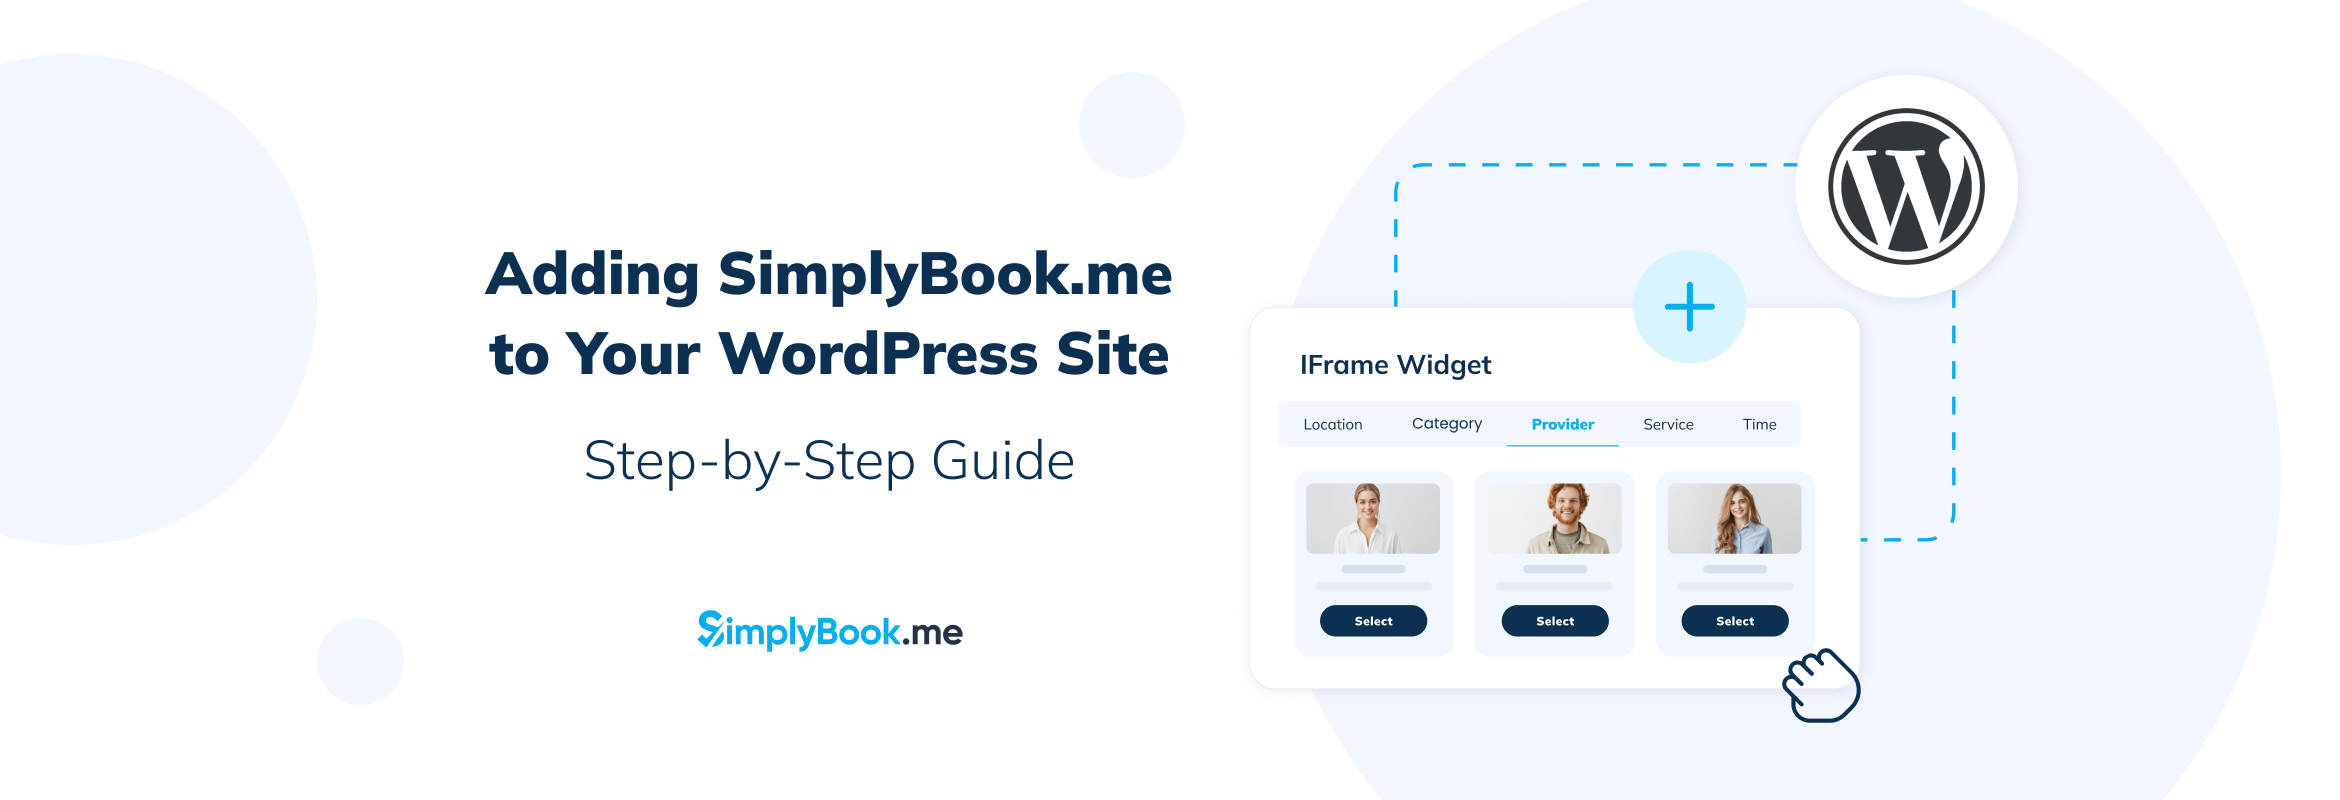
Step 2: Embedding in WordPress
1. Choosing the Integration Method:
- See how Widgets look on a website here
- Iframe Integration: Ideal for a seamless look. It embeds the booking page directly into your WordPress site.
- Direct Link: A simpler approach where you add a link or button on your site that redirects to your SimplyBook.me booking page.
2. Implementing Iframe Integration:
- Copy the Iframe Code: From your SimplyBook.me dashboard, navigate to ‘Settings’ > ‘Booking Widget Settings’ and copy the iframe code.
- Embed in WordPress: In your WordPress editor, switch to the ‘Text’ tab to paste the iframe code into the desired page or post.
- Adjust Size: Modify the width and height in the iframe code to best fit your webpage layout.
3. Implementing Direct Link Integration:
- Copy the Booking Page URL: Your unique SimplyBook.me booking page URL is available in your account.
- Insert the Link: Use WordPress’s editor to add the URL as a hyperlink or button on your page or post.
Step 3: Customisation and Testing
1. Match Your Site’s Aesthetics: Whether using an iframe or a direct link, ensure the visual elements complement your site’s design.
2. Test the Booking Process:
- User Experience: Check the booking flow from a client’s perspective to ensure it’s intuitive and hassle-free.
- Functionality Check: Confirm that bookings made through WordPress are correctly reflected in your SimplyBook.me dashboard.
3. Feedback and Adjustments: Consider getting feedback from a few clients or colleagues and make any necessary adjustments for optimisation.
Conclusion
Integrating SimplyBook.me with your WordPress site is straightforward and can significantly enhance the user experience. This guide should have provided you with all the necessary steps to get started. We encourage you to experiment with the various features and customisations to fully leverage this powerful tool.
If you have any questions or need assistance with the integration process, our Live Chat team is here to help! Available 24/7 during the working week, they’re always ready to provide friendly and prompt support to ensure a smooth integration experience. Don’t hesitate to reach out!

Comments
0 commentsNo comments yet